Photo and video post-processing using Linux

As you might have noticed I tend to shoot a lot of photos (and recently the occasional video) on events such as parties and birthdays. Being a Linux user, and a strong believer in straight-out-of-camera shots, I tend to shy away from individual post-processing for my shots. I might crop the occasional shot, especially when it is to be used in a blog-post or something similar, but usually I simply like to throw a batch of images into a simple workflow to upload them to the web.

Photos

When uploading photos to my llgal gallery, I resize and sharpen them so they don’t take up quite as much storage and bandwidth. I start by using the EXIF auto-rotation flag to losslessly rotate any upright photos:

jhead -autorot IMG_*.JPGNext, I rename the photos so there are no filename collisions when I throw together photos from different events:

exiftool '-FileName<EVENT_ ${CreateDate}_$filename' -d %Y%m%d IM*.JPG

Finally, if I want to upload the batch, I resize and sharpen the photos using the excellent imagemagick tools. Careful! mogrify will modify images in-place, so be sure to apply it on a copy of your original JPGs:

mogrify -resize "1024x1024>" -unsharp 1x1+1+0 -sampling-factor 2x2 *.JPGAfter that the folder with the photos is a simple scp and llgal call away from making it into my gallery.

Videos

I’ve just recently started shooting video, but I already love the functionality on my EOS 60D. Even though I use the Magic Lantern firmware (you absolutely should too!) to reduce the bitrate of the videos by half, the 1080p25 videos from the EOS are still way too large to be used in any reasonable way, so it’s a good idea to compress them. I start by merging all the videos of an event into one file, using the mkvtools package:

mkvmerge MVI_0001.MOV + MVI_0002.MOV -o MVI_EVENT.MOV

Next, I use ffmpeg to downscale and recompress the video and audio. Depending on your distribution, you might need to install extra packages from special repositories to do this:

ffmpeg -i MVI_EVENT.MOV -s 854x480 -b 2048k -vcodec libx264 -acodec libfaac -ac 2 -ar 48000 -ab 128k MVI_EVENT.mp4

This will give you a nice small file with very good quality, even if it takes a while to render. The adjusting knob is the bitrate behind the -b parameter. Be careful not to change the framerate of the original video using -r, this will degrade quality and take forever because frames will have to be interpolated!

The ffmpeg-call could certainly be optimized, and I’m happy to hear about any suggestions.

2011 in photos

Here we go again. With nothing more substantial to blog, I’ll just give you the quick rundown of some of my favorite shots of 2011, at least in terms of photographic technique. Needless to say, only a fraction of my photos make it to flickr each year. I’ll try to sort the shots by theme this time ;) Everything I posted on flickr this can be found here: https://secure.flickr.com/photos/heipei/archives/date-taken/2011/detail/

People

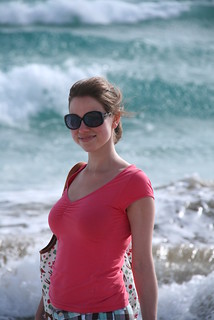
Actually, most of the shots are of Katrin since she has the patience for me to try all kinds of silly new techniques ;). I’m not the best photographer for people, but I hope to improve with the fast ISO of my new EOS 60D.

Under my umbrellaUnder my umbrellaUnder my umbrellaUnder my umbrella
105. WinterfestRecent Parties
rwthCTF 2011Indoor - Outdoor PortraitFuerteventura 2011rwthCTF 2011
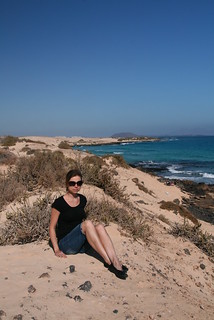
rwthCTF 2011Fuerteventura 2011

Landscapes

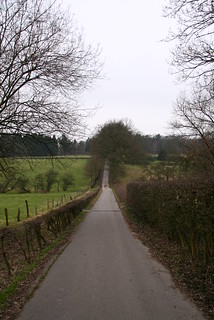
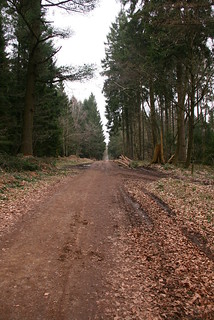
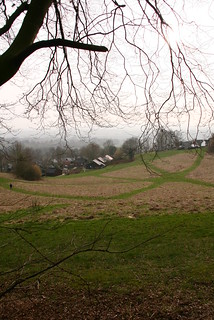
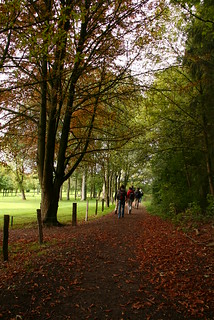
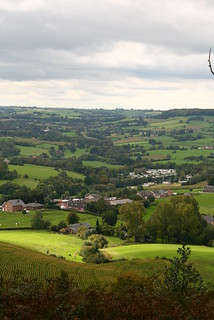
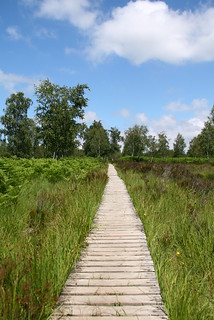
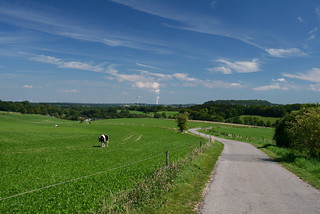
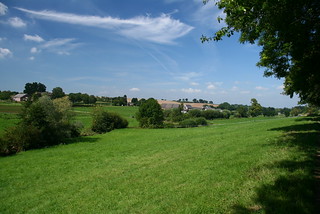
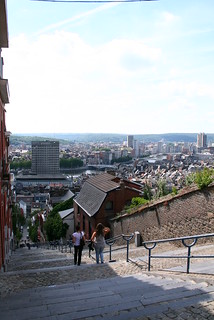
Now, landscapes is what I really like to photograph. Not because it’s easier than people which move around, but because capturing the impression of a clear blue sky above miles of open view is quite a challenge. Looking back at my photos of this year, I like the obvious progression of the seasons.
Wanderung Grenzrouten (Preuswald)
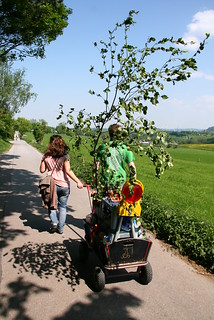
Wanderung Grenzrouten (Preuswald)Wanderung Grenzrouten (Preuswald)Wanderung Grenzrouten (Preuswald)Wanderung Lemiers, Dreiländereck, Vaals
Panorama Herzogsweg
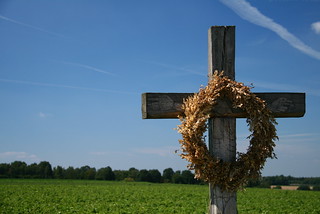
Wanderung Lemiers, Dreiländereck, VaalsEifelsteig, erste Etappe: Kornelimünster - RoetgenMaiwanderung 2011Eifelsteig, erste Etappe: Kornelimünster - Roetgen
Wanderung OrsbachWanderung Orsbach
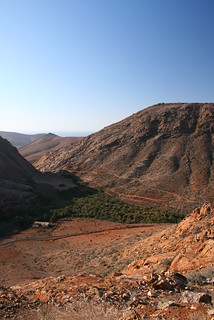
Fuerteventura 2011Fuerteventura 2011Fuerteventura 2011Fuerteventura 2011

Cities

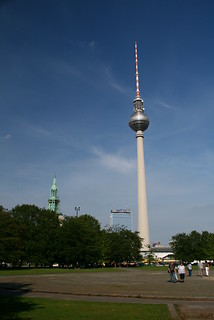
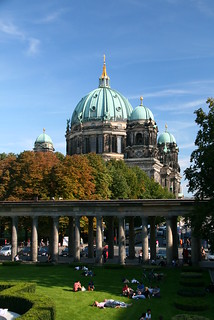
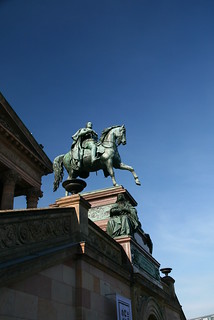
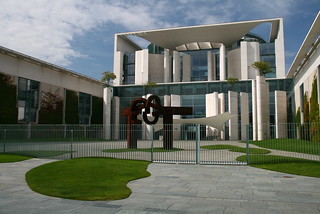
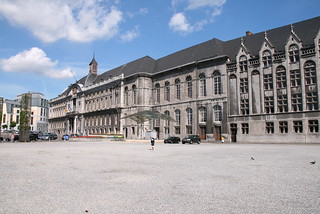
Similar to landscapes, but more variety on a small room. In cities I often feel like getting an imperfect shot because of wires running through the image, but that’s just me, and in the end some of my best shots of 2011 were from Berlin and Potsdam. Not surprisingly, I used my Polfilter on my 18-200 mm EF-S all the time, with varying but mostly great results.
Recent PartiesWanderung Grenzrouten (Preuswald)
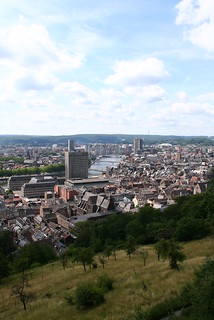
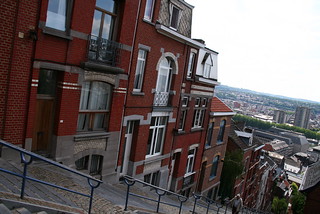
Sonntag in LüttichSonntag in LüttichSonntag in LüttichSonntag in Lüttich
Sonntag in LüttichSonntag in Lüttich
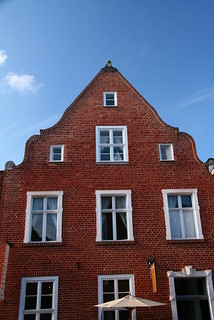
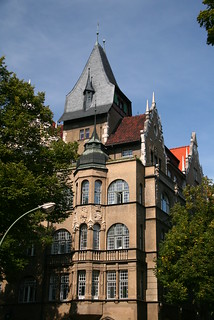
Berlin-AusflugBerlin-AusflugBerlin-AusflugBerlin-Ausflug
Berlin-AusflugBerlin-Ausflug

Stock / Studio / Miscellaneous

I don’t “do” stock photography, but some of my images can be (and have been) used that way. Food could be a whole category by itself, but I’ll just group it here as well. Everything food-related can of course be found on Katrins Blog.

Räuchermännchen
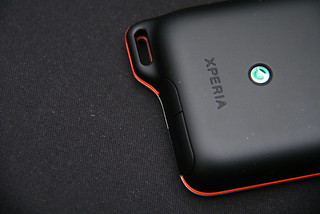
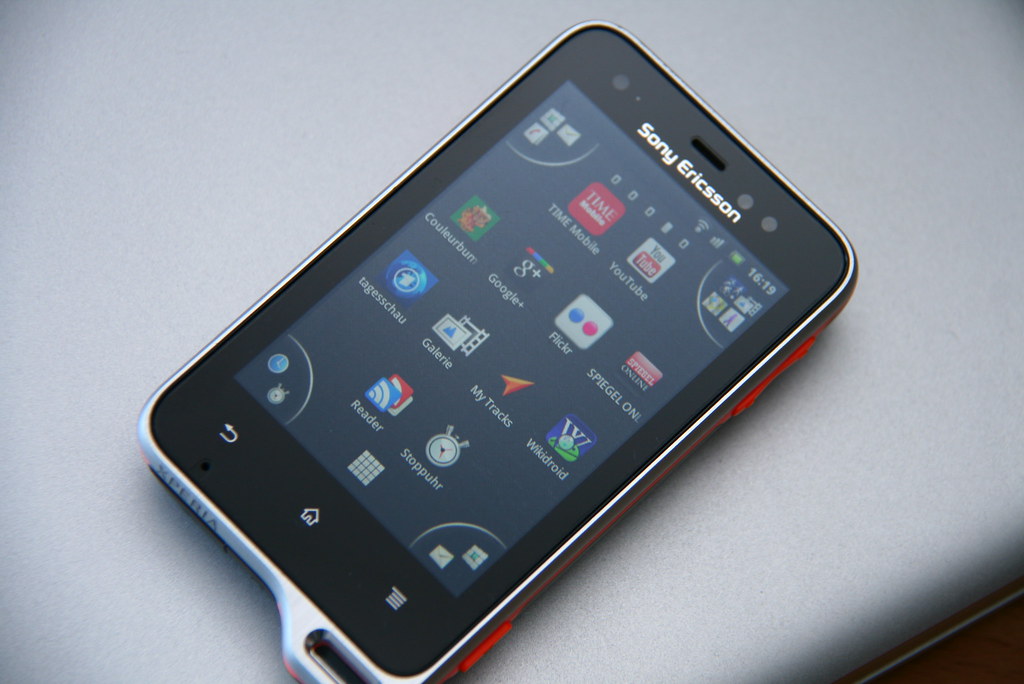
EOS 400D - My workhorse for almost 4 yearsShots of the Xperia Active
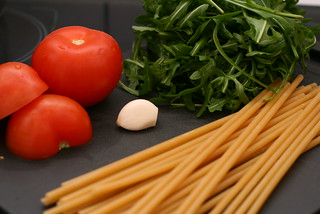
Nudeln mit Rucola und TomatenLinguine mit Kirschtomaten
Feigenrisotto mit GorgonzolaBirnentarte mit Ziegenkäse und Senfdressing
Gefüllte TomatenTagliatelle mit Hähnchen und Aprikosen
PizzaKürbisrisotto mit karamellisierten Walnüssen

Review: Sony Ericsson Xperia Active

Das Xperia Active ist mein erstes Android Handy. Davor hatte ich zwei relativ ähnliche Sony Ericsson (K750i und C510) die beide leicht, klein und ziemlich robust waren. Für mich ist ein Handy ein Gebrauchsgegenstand der nur eine begrenzte Zeit halten muss und um den ich mir keine Sorgen machen will wenn es regnet oder ich das Handy in die Tasche/Rucksack werfe.

Mit dem Xperia Active habe ich jetzt ein Smartphone welches diese Anforderungen erfüllt. Ich kann das Handy bei Schnee und Regen am Rucksack aussen befestigt lassen, GPS bei Wanderungen und Radtouren mitloggen lassen und selbst mit nassen Fingern im Regen Schnappschüsse machen die ich, da es ein Smartphone ist, direkt auf den Internetdienst meiner Wahl übertragen kann. Falls ich mich tatsächlich verlaufe ist auch das Xperia Active nicht zu klein oder zu langsam und kann mit Google Maps und dem Kompass aushelfen. Die sehr sehr praktische Öse kann ich benutzen um das Handy garantiert bombenfest am Rucksack baumelnd zu befestigen, ein sehr wichtiges Feature. Die helle LED hilft Nachts. Beim Radfahren kann ich das mitgelieferte Sportarmband benutzen, falls ich sonst keine Taschen am Rad/Körper hab. Soweit zu meinem Nutzen für ein so ein rugged Smartphone.

Shots of the Xperia ActiveWährend der Arbeit liegt das Handy nur rum, und im Standby mit GPRS aktiviert (und GPS/WLAN deaktiviert) und Sync an (Google+, Twitter, GMail) hält es locker 48h, wenn nicht sogar länger. Gespräche kommen sauber und zuverlässig rüber, Bedienung ist wie bei Android gewohnt, die Kamera absolut OK. Als jemand der viel mit einer DSLR fotografiert weiss ich es zu schätzen dass man Weissabgleich, Metering Mode und Fokus unabhänging voneinander in mehreren Programmen einstellen kann. Besonders der feste unendlich-Fokus bedeutet dass ich in 90% aller Situationen perfekt fokussierte Fotos mit null Verzögerung machen kann. Das Rauschverhalten bei ISO 1600 ist natürlich nicht mehr schön, dafür geht das Xperia bei gutem Wetter gern auf ISO 64 und Verschlusszeiten von bis zu 1/1250s runter. Brennweite ist fest bei 3.5mm und Blende bei f2.6.

Negativpunkte

Eigentlich kann ich nur die Software von SE etwas kritisieren. Ein praktisches Migrations-App wie bei HTC fehlt leider, Kontakte muss man also per Bluetooth syncen und die alten SMS hab ich letzendlich gelöscht. Auch die HTC Sense UI gefällt mir etwas besser. Falls bei eurem Xperia Active die Handgelenksschlaufe fehlt ruft einfach beim SE-Support an, ist wohl bei ein paar wenigen der ersten Handies ausversehen vergessen worden. Ansonsten sollte man noch eine Rutsche Micro-USB Kabel mitbestellen, ich hatte ausser dem mitgelieferten keins, eine etwas größere Speicherkarte kann auch nicht schaden.

Sample Photos

Xperia ActiveXperia Active in Vaals
Xperia Active in VaalsXperia Active in VaalsXperia Active in Vaals

Sony Ericsson Xperia Active Flickr Group here.

(Sorry, German review this time, use Chrome translate ;)

Canon EOS 400D: New tricks

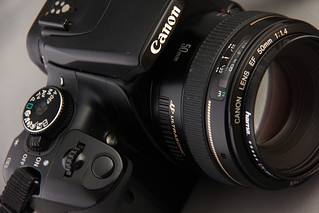
Canon EOS 400DYou can’t teach an old dog new tricks. This wisdom is only partially true for most modern devices, thanks to firmware updates. I’ve briefly mentioned having used a “hacked” firmware for the past few months. This weekend, contemplating whether and when to buy a new camera body, I decided to see if there have been new features added to alternative firmwares for my Canon EOS 400D. Boy, was I in for a surprise!

400plus – Firmware Hack for the Canon EOS 400D

The 400plus project is currently implementing a lot of additional features for the EOS 400D and distributing builds of hacked firmware which can be applied to the camera through a file which is loaded during camera startup, meaning they are easily reversible by simply deleting the firmware from the CF card. Recently, some really killer features where implemented, which even make some hardware additions redundant. This is an incomplete list, representing the most important features for me:

  • Intervalometer: The 400D can be used to shoot at regular intervals by itself, without any additional controlling hardware. This is perhaps the coolest feature, and I’ve yet to put it to good use by creating a time-lapse movie.
  • Intermediate ISO / Auto-ISO: Found in newer cameras, the 400D now supports intermediate ISO steps (seamlessly between ISO 100 and ISO 3200) as well as providing a basic Auto-ISO function with upper and lower limit. The ISO can also be adjusted while looking through the viewfinder.
  • Handwave support: This is a mode where the camera takes a shot each time the proximity sensor above the display is triggered. Useful for macro shots where you don’t want to rock the camera rig.
  • Timer: The camera simply fires after a certain amount of seconds has elapsed. It can also start the interval program instead.
  • Manual Kelvin: Useful if you don’t want to shoot RAW to get spot-on white balance.
  • Spot Metering: Metering light at a very small spot in the center.
  • AF patterns: Found in more recent camera, AF patterns are a cool addition. External flash AF assist doesn’t work with it though.

For me, the Intervalometer/Timer/Handwave functions replace using an IR remote for self-portraits or macro shots. The Intervalometer replaces rather expensive external hardware triggers. The current version of the 400plus firmware seems very polished, providing simple menus and settings for its features, without any adverse side-effects. I expect more cool features to follow in the near future.

Tethered shooting using the command line

gphoto2There are a number of solutions for tethered shooting with Canon DSLRs. Some of them even work on Linux. I wanted something simple to take and download shots from my 400D, so I used gphoto2. gphoto2 provides a lot of other features which I won’t cover here, and supports remote control for a wealth of cameras, so go check the compatibility of your own camera.

I wanted to use my EOS 400D as some sort of webcam, taking shots at intervals and directly transfering those shots to my PC. This is easy enough with gphoto:

gphoto2 --port=usb:005,048 --capture-image-and-download -I 30 --force-overwrite --filename=webcam.jpg --capture-previewThis takes a photo every 30 seconds and writes it to webcam.jpg. The port can be inferred by hooking up your camera and having a look at the output of lsusb. One small problem I encountered with my 2.6.39 kernel: The 400D did not work with ehci_hcd, so I had to disable it. If its modular, you can simply do modprobe -r ehci_hcd, but if, like me, its builtin, you can disable it by following this guide.

subscribe via RSS