Digitizing old 35mm film negatives
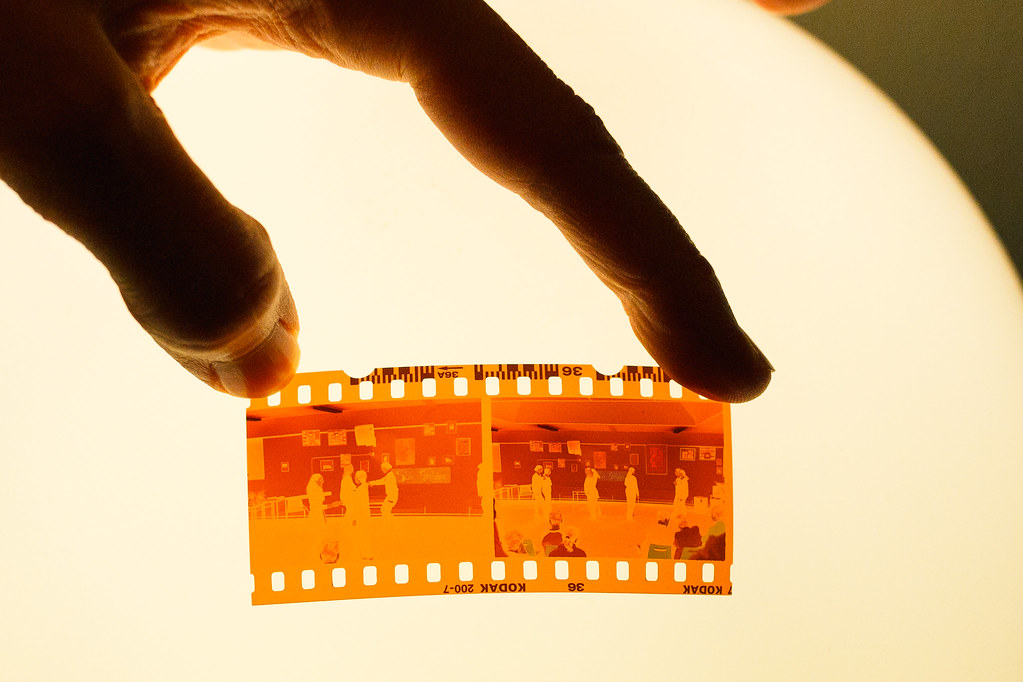
I was recently combing through boxes of old stuff from my childhood. One box was filled with old photos and negatives of 35mm photography film. Back then, you gave your film to your local photo shop, they’d develop it and then give you pouches with the developed prints and the negatives in it. I’m quite fond of these memories, but I rarely look through them anymore because it’s a little cumbersome. So I decided to digitize these photos.
I started out with an off-the-shelf dia film scanner, the kind you can get from Amazon for about €30-€40. It has a tray for a strip of 35mm film, a small display, and SD-card slot and a few buttons. You hit the button and then advance to the next slide. Unfortunately, the results from these scanners were abysmal. Not only were the photos JPEG-only, they were also low-resolution, not very sharp and showed strong compression artifacts. Not what I’d envisioned. A dedicated flat-bed film scanner was also out of the question, for these will easily set you back €200-€300. The big advantage of these is the fact that they will scan to high-res TIFF, giving you a lot of room to post-process the scans.
But I have two great cameras at my disposal, both capable of capturing high-resolution RAW files. So I started out devising a way to photograph the negatives in the most convenient way possible. Why scan the negatives instead of the actual prints? Well, the negatives should give you more dynamic range than the film and I was also missing a few prints from the pouches, while the negatives were mostly complete.
|
|
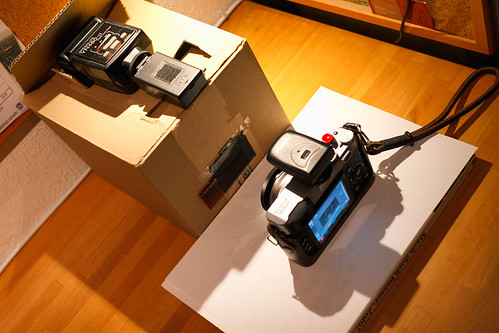
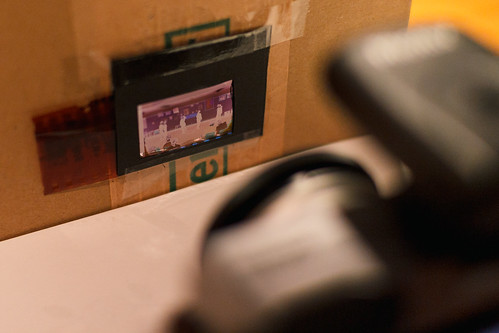
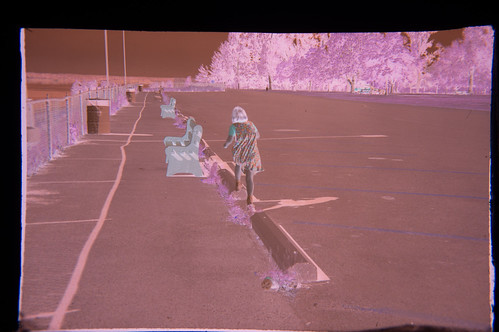
I built a simple cardboard box, cut a 35mm-ish hole into the side, set up my wireless flash and fixed a sliding-window contraption in front of the hole. The flash is diffused in the box using two sheets of plain paper, again, not the most professional way to do it but it works OK. I then experimented with my DSLR only to find that I had the wrong lenses for the job (a macro lens would have fared better I supposed). So I used the next best thing: My Fujifilm X100 with a macro-lens I still had lying around. In order to focus the negative I set my X100 to RAW and used the Yellow-channel black-and-white settings a preview mechanism. The ISO was set to 200, aperture f/8, shutter time of 1/500s and manual focus (1m-1.5m), with 4/7 power from my Yongnuo flash. In Aperture I had to invert the colors, crop and then continue with the usual postprocessing, including white-balance, contrast, etc.
|

|
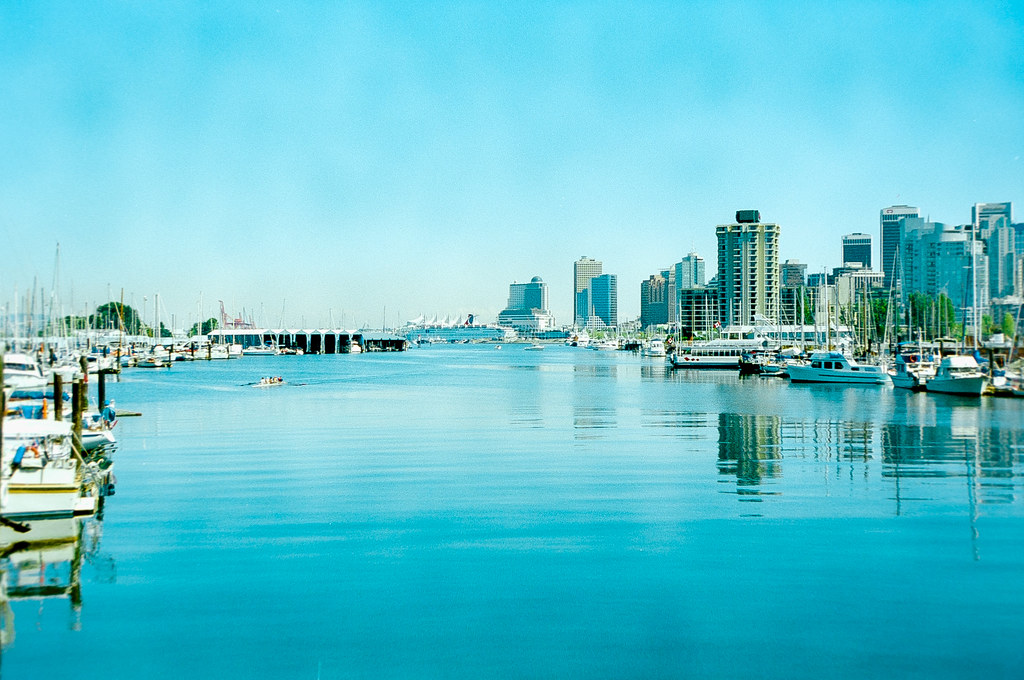
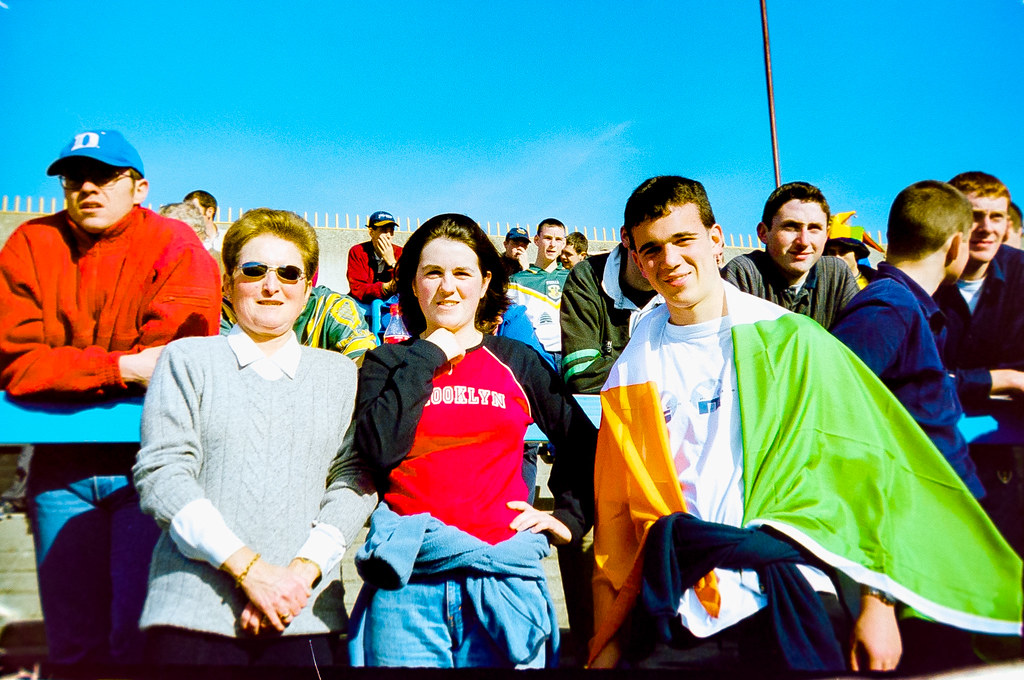
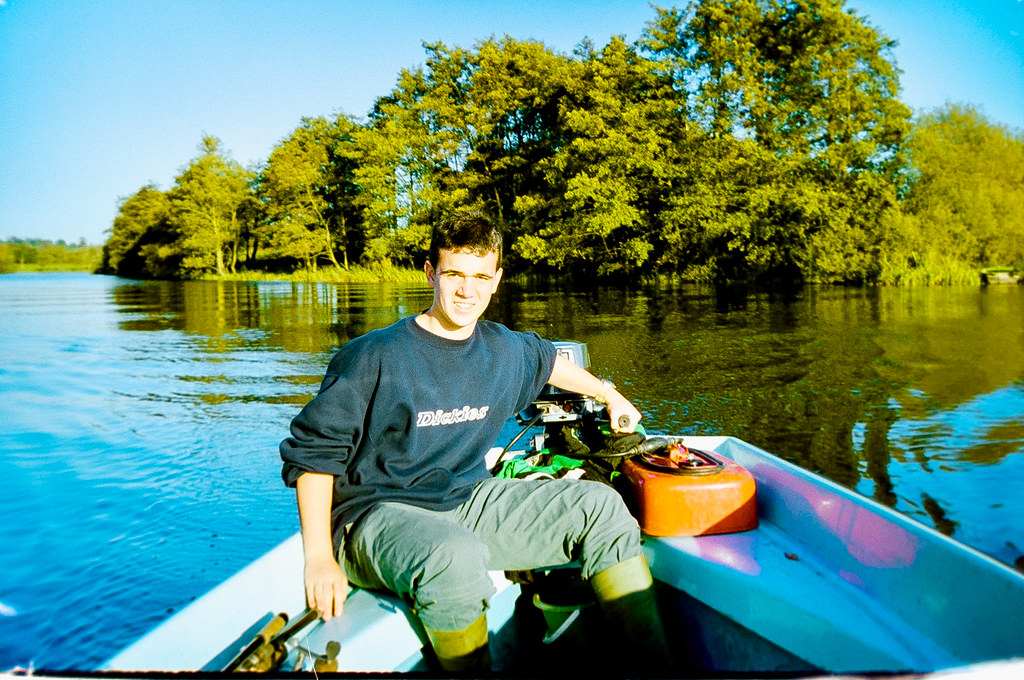
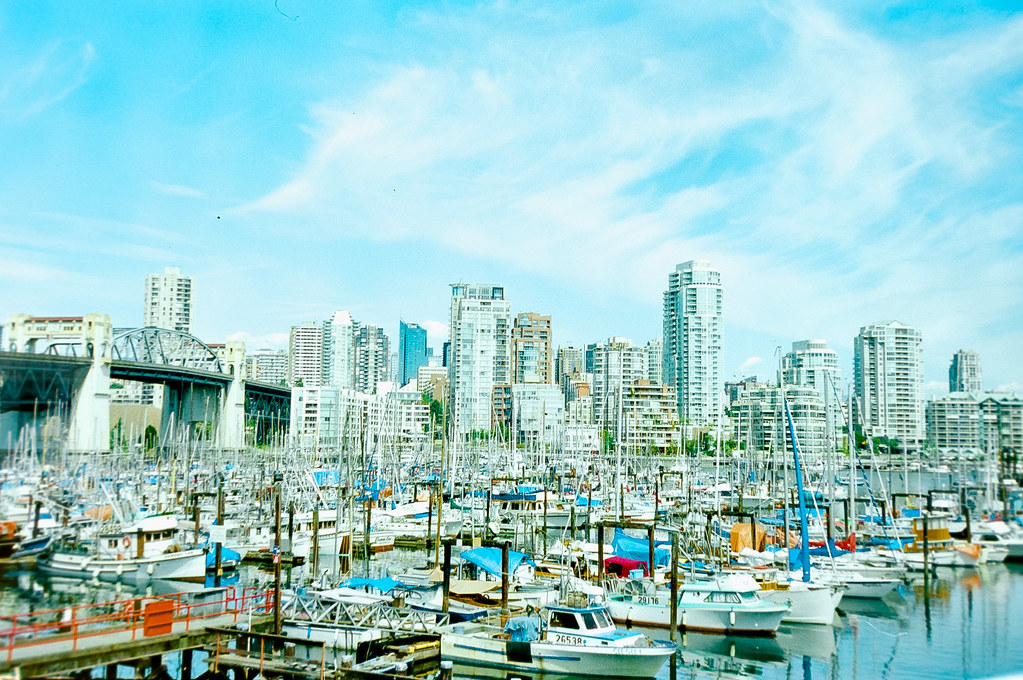
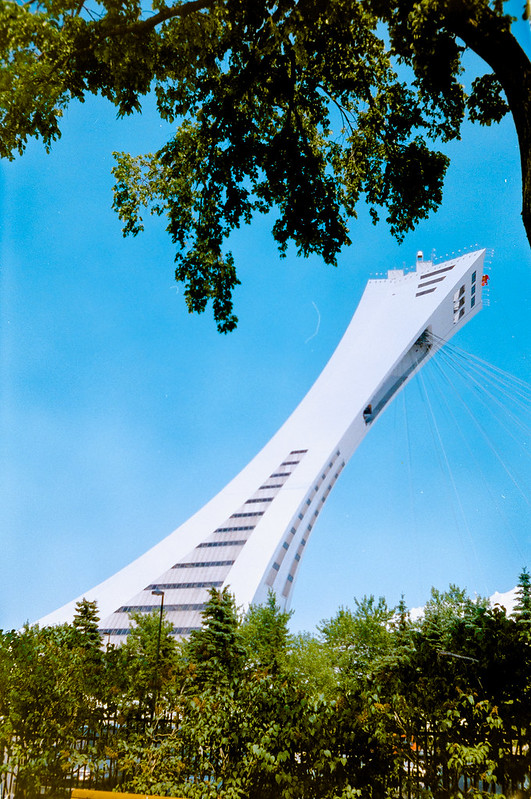
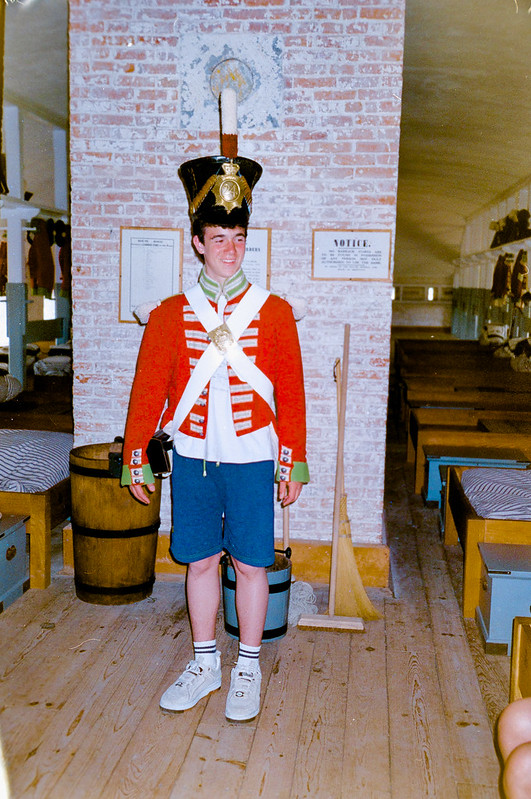
Long story short, after some experimentation and some fiddling I was able to get decent RAWs of my negatives with little effort and no money spent. True, sometimes the negative bulge a little bit and the corners do get blurry, but the essence of the photo is very neatly transported from the negative into digital. It’s certainly not the best you can get from these negatives, and I suppose some people will look down onto this technique, but for a first quick run of digitizing my most import photos it was more than adequate. If I ever get around to buying a dedicated film-scanner I might repeat the procedure, but until then I can safely recommend my workflow. Let me know if you have any input on this or other techniques in the comments.
|
|