I went on two work-related trips to Washington and Dublin this summer and managed to bring back some pretty photos.
Traveling for work is not something that you can always enjoy: You’re on a tight schedule, often flying by yourself, and
you’ve got the purpose of your trip in the back of your head the whole time you’re on the road. Still, sometimes you
manage to grab a few hours (or a whole day) with a good friend and/or colleague to venture into the city and do some
sightseeing. In this regard, work-related trips actually pay off since they let you catch a short glimpse of a place
which you can use to decide whether it’s worth to come back on vacation.
Washington
I had been to Washington two years ago, during a trip that was a mixture of work and leisure. This time around, me and
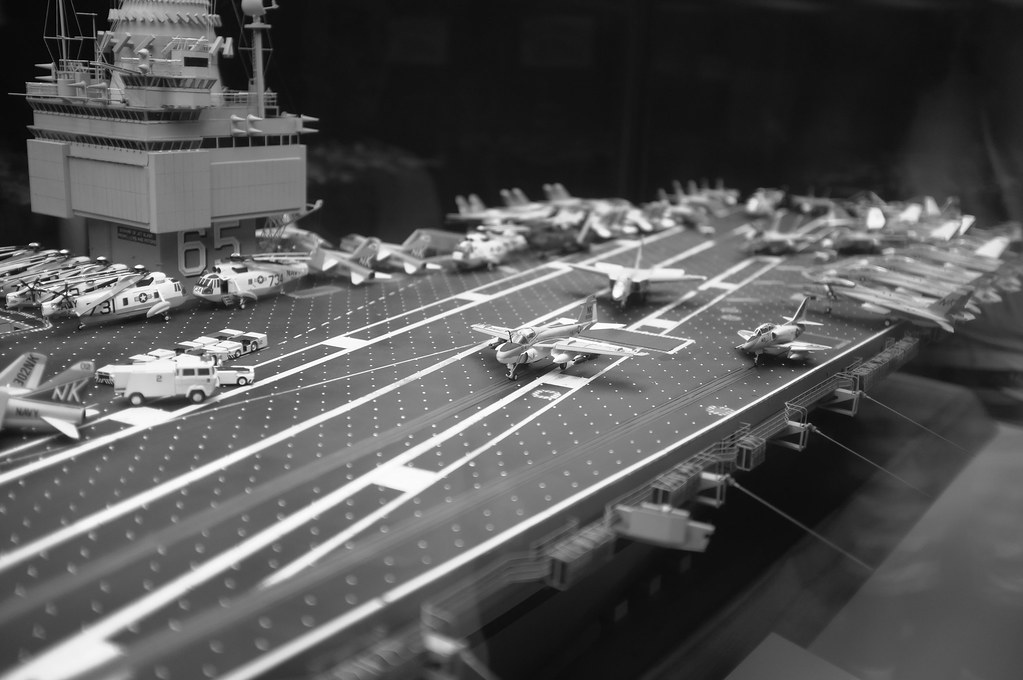
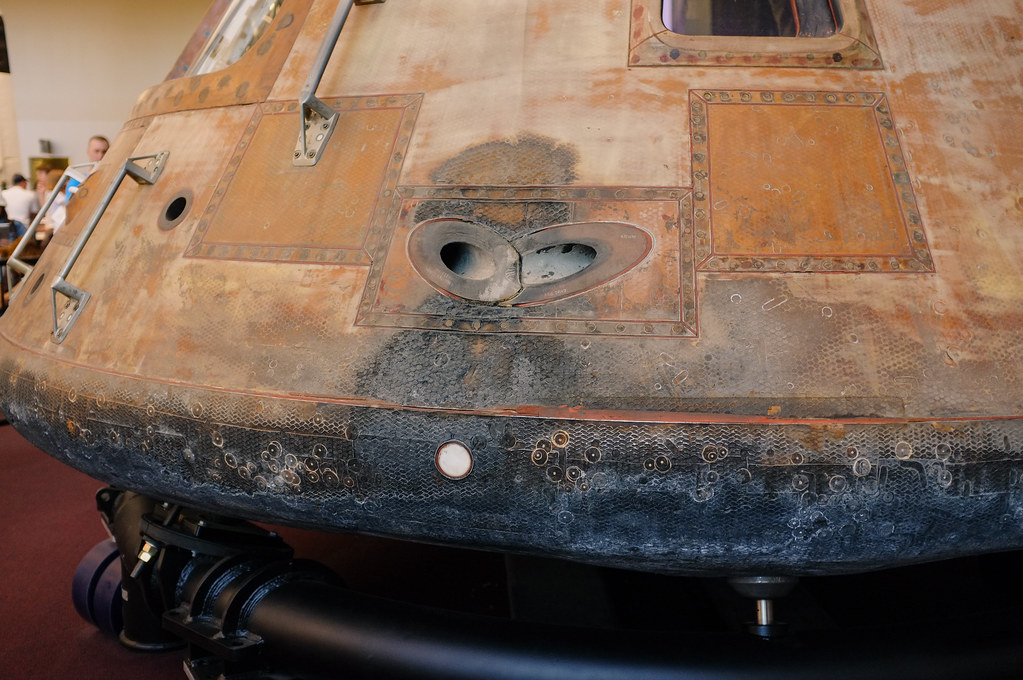
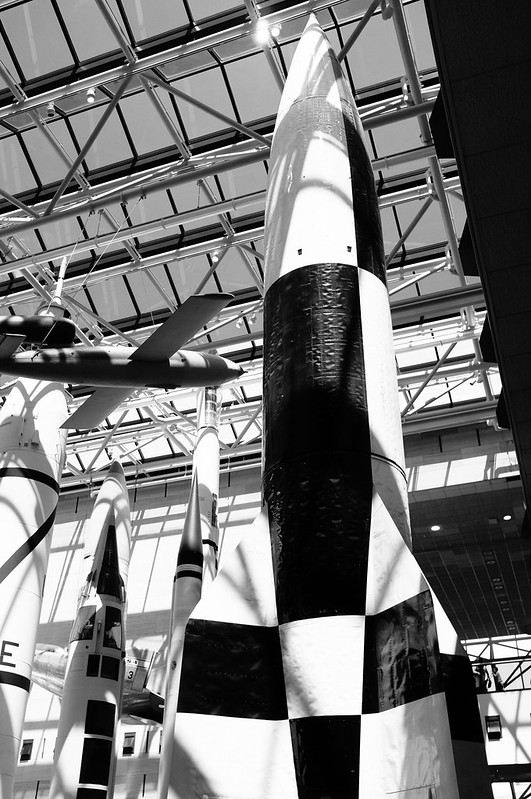
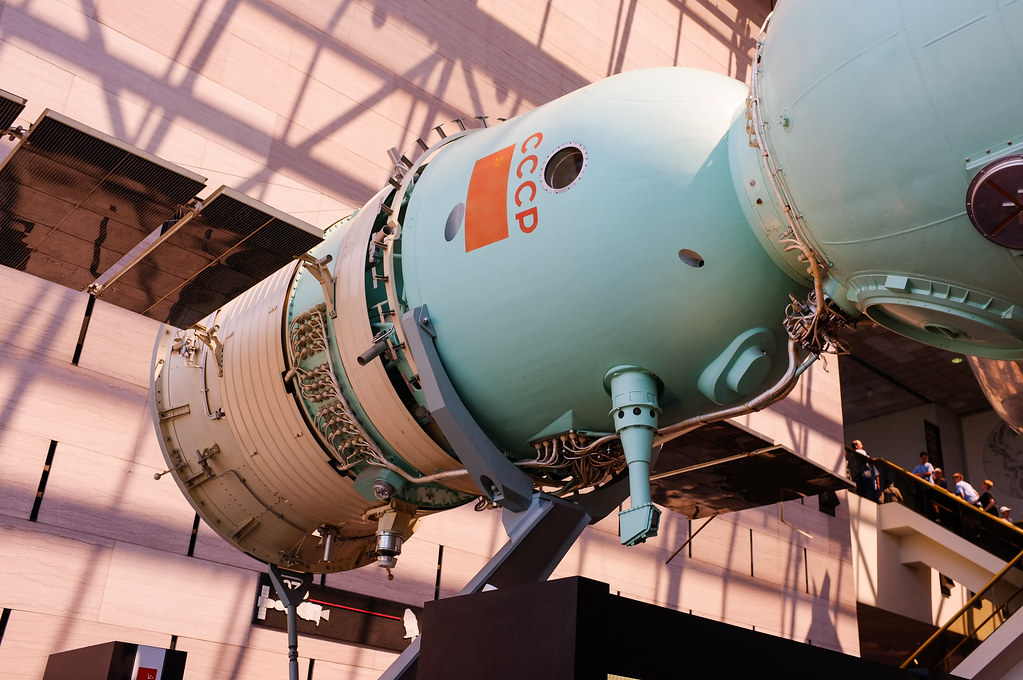
a buddy of mine only had a few short hours to actually spend downtown, so we tried to make the most of it. Our first
stop was the Smithsonian Air and Space Museum (what else!), a museum that I’ll probably never get tired of visiting.
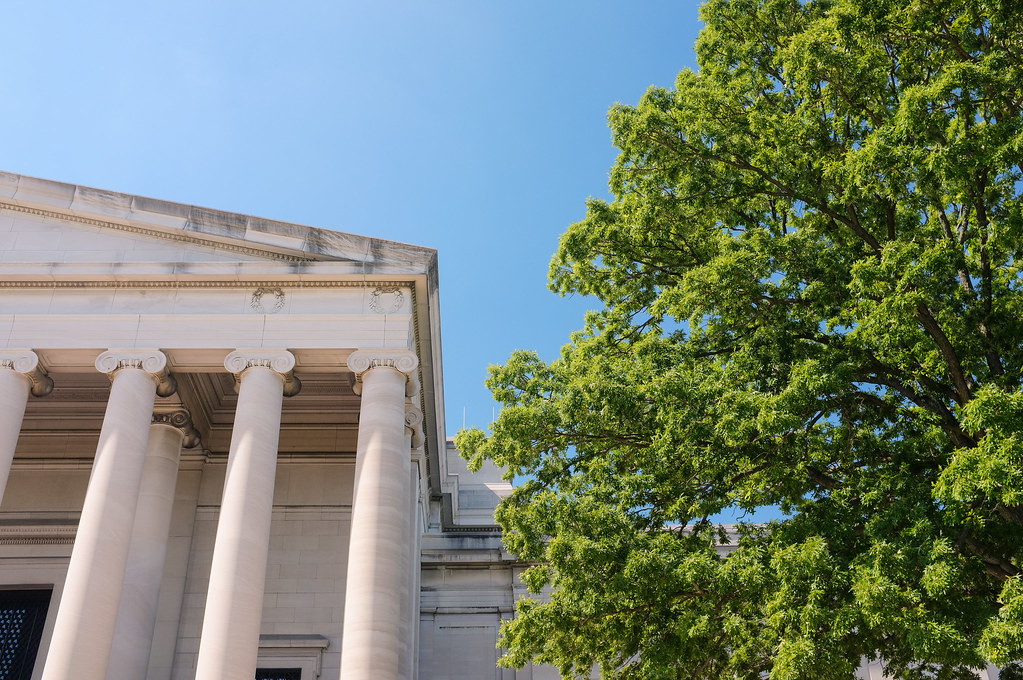
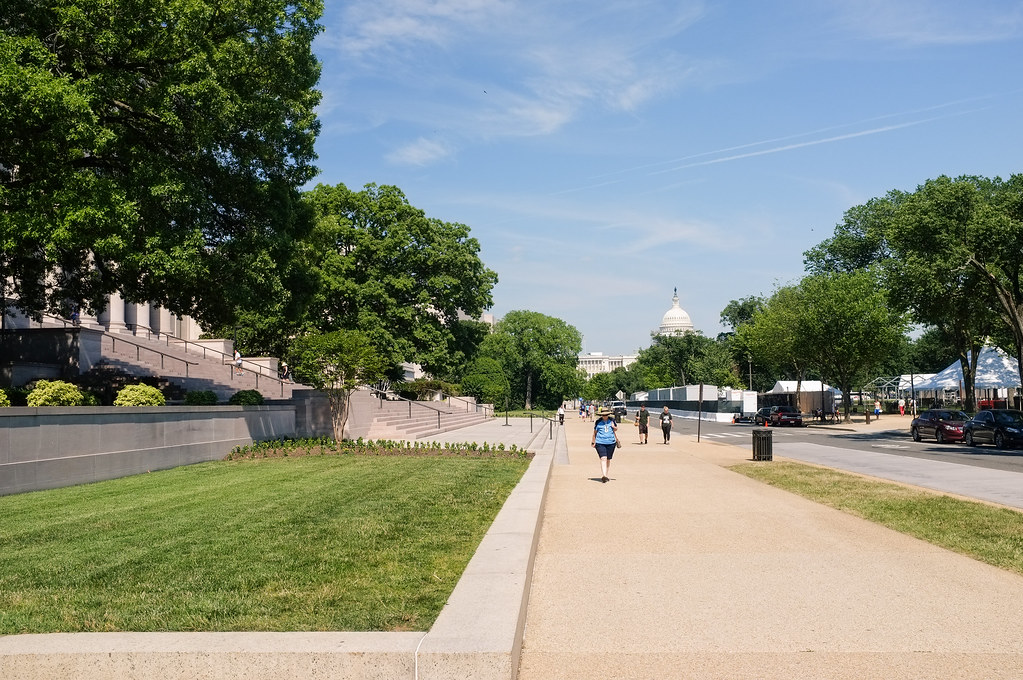
After that we walked across the National Mall where they were already busy setting up stands for the Independence Day
celebrations. Unfortunately it was boiling hot that day, and the mall does not offer a lot of shade. So we walked
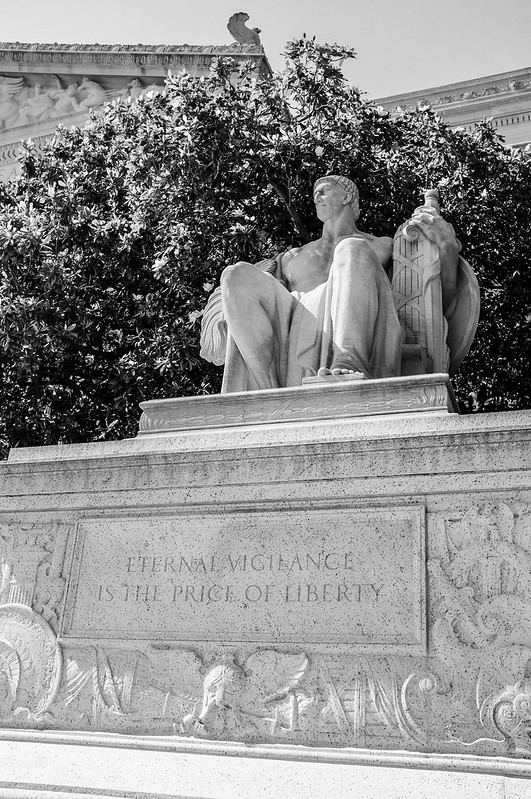
straight into the National Archives to get a first-hand look at the Declaration of Independence, the Constitution and
the Bill of Rights. In general, this building was a little underwhelming, and seeing the documents up close is a bit of
a let-down since they’re very crowded, hidden deep down behind glass and barely legible. Also I wasn’t allowed to take
photos, you can imagine my opinion on that policy. That was already the extent of our dash into Washington. While it
does not sound like a lot, Washington will eat up your day thanks to it’s generously spaced buildings and parks, so
make sure you bring plenty of time and comfortable footwear.
Ireland
In mid-July I flew to Dublin to attend SRECon Europe. I flew in a day early to
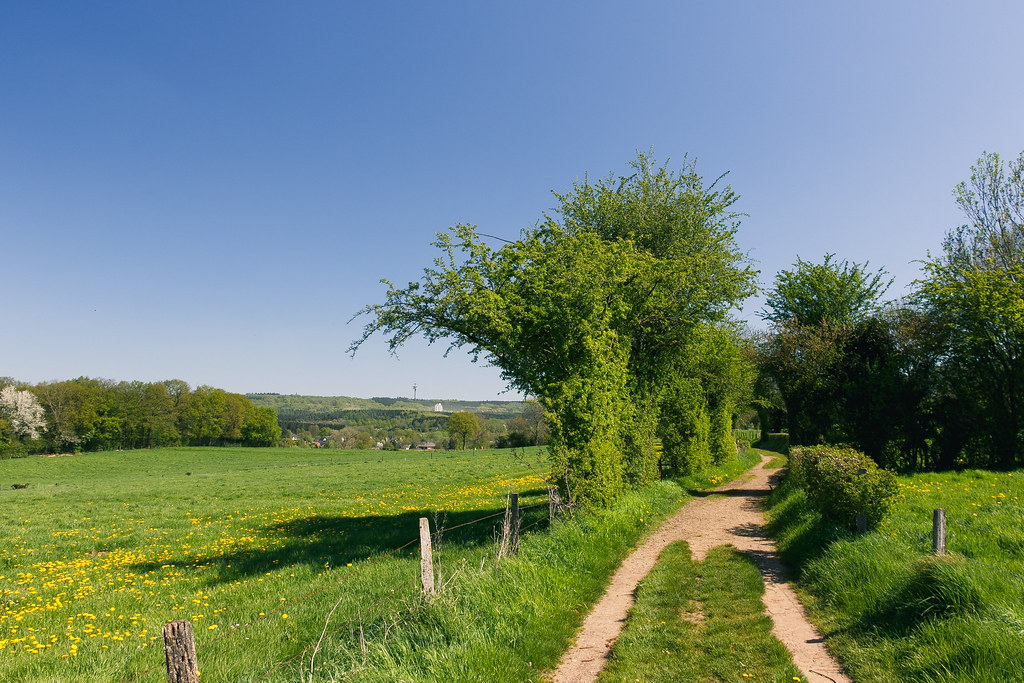
have some time to explore the city with a friend of mine. My memory of Ireland was pretty spotty, my last visit to the
green island was more than 15 years ago when I went there as part of a student exchange with our school. Back then we
lived in the countryside (which is pretty much all of Ireland except Dublin). I only saw small parts of Dublin when
we drove to Croke Park on one occasion.
Ireland is an interesting country to visit, especially if you’ve seen some other major European countries. At first
sight it looks like Great Britain, or maybe even any other European country. But then you start noticing the
subtle unique aspects of Ireland. It starts on the way from airport, when you realize that people are driving on the
left. Sure, there’s other countries which have that, but the next thing you notice is that all official signs and street
signs are written in both English and Gaelic, which might as well be Klingon as far as you’re concerned. So once it
sinks in that you’re in Ireland, you start looking for other things typically considered to be “Irish”: Plenty of
redheads (check!), lots of pubs (check!), first names you have neither heard of nor know how to pronounce
(check!) and in general a very proud display of Irish heritage wherever you look.
Which leads us to the kind of sports the Irish seem to enjoy. Entering a pub, you’d be foolish to think that the TV is
most likely showing a local soccer game: Green pitch, two teams, a round playing ball and a large audience. That is
until a player picks up the ball, tucks it under his arm and starts crashing through lines of opposing players. Couple
that with no body-armor whatsoever and you’ve got Gaelic Football. That’s
when you realize that Ireland is a proper island. An island where they know how to preserve their culture, sports being
one of the most visible differentiators in a world which has become focused around a few major sport events. Similar to
Gaelic Football, Hurling is a sport which appears familiar at first sight (“oh, this is like field hockey”) right up
until the moment somebody lifts the ball waist-high and smashes it in a baseball-like fashion without regard for the
twenty people around him on the field. If it looks too tough to be played anywhere else then it’s right up the alley of
Irish sport-fans. The biggest stadium in Ireland (and one of the biggest in Europe) is Croke Park, and they use it only
for Gaelic sports, which gives you an idea of the importance that the Irish place in their own sports.
Dublin
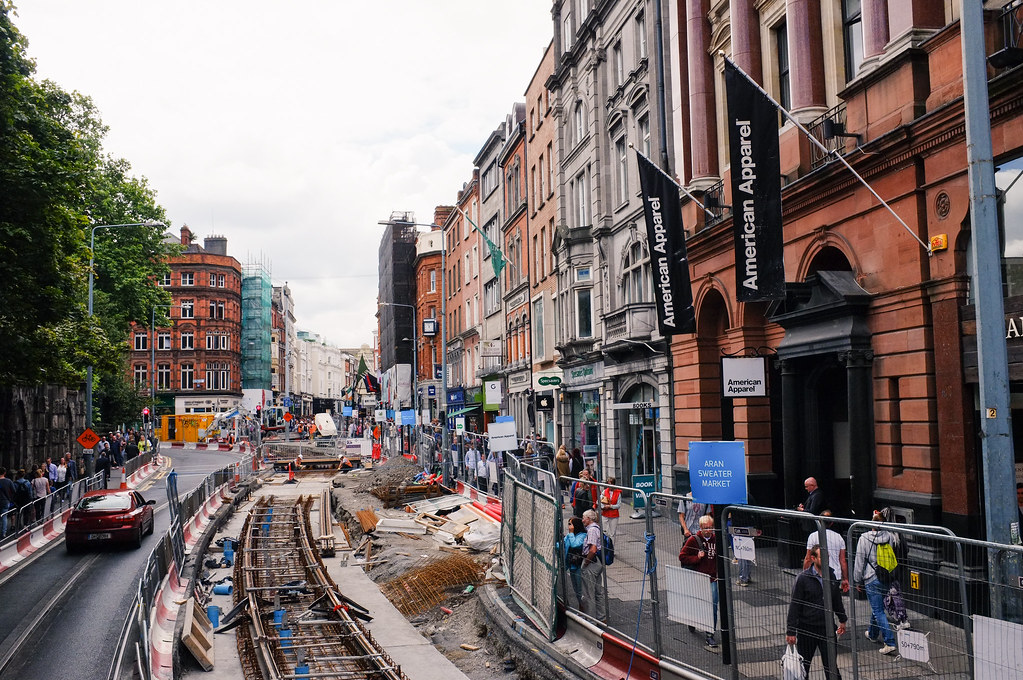
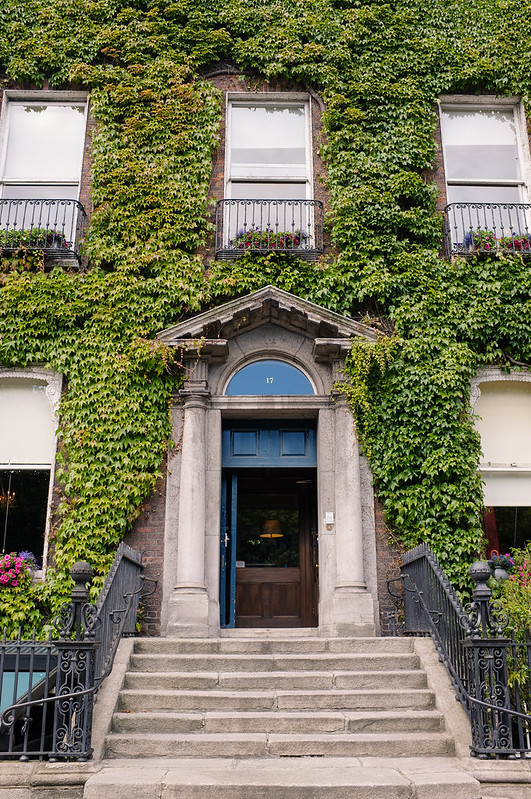
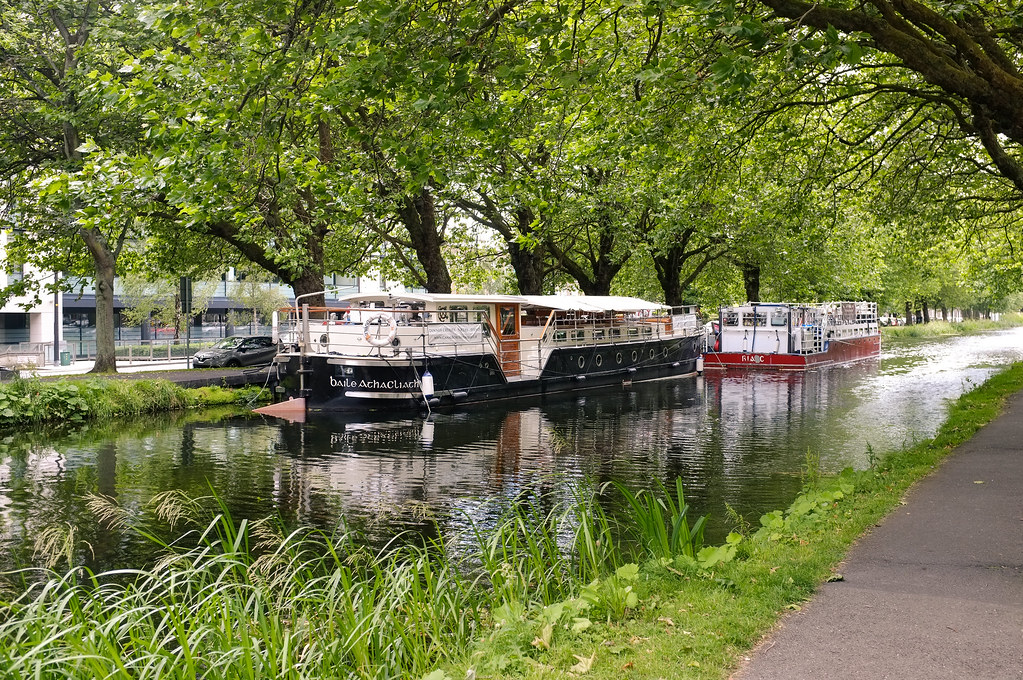
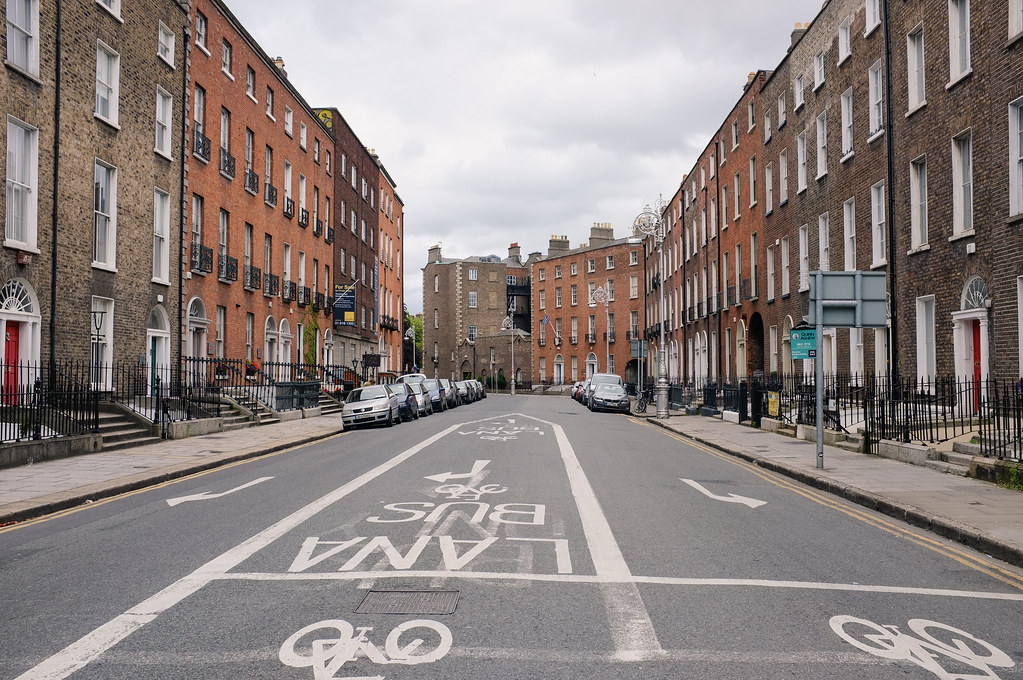
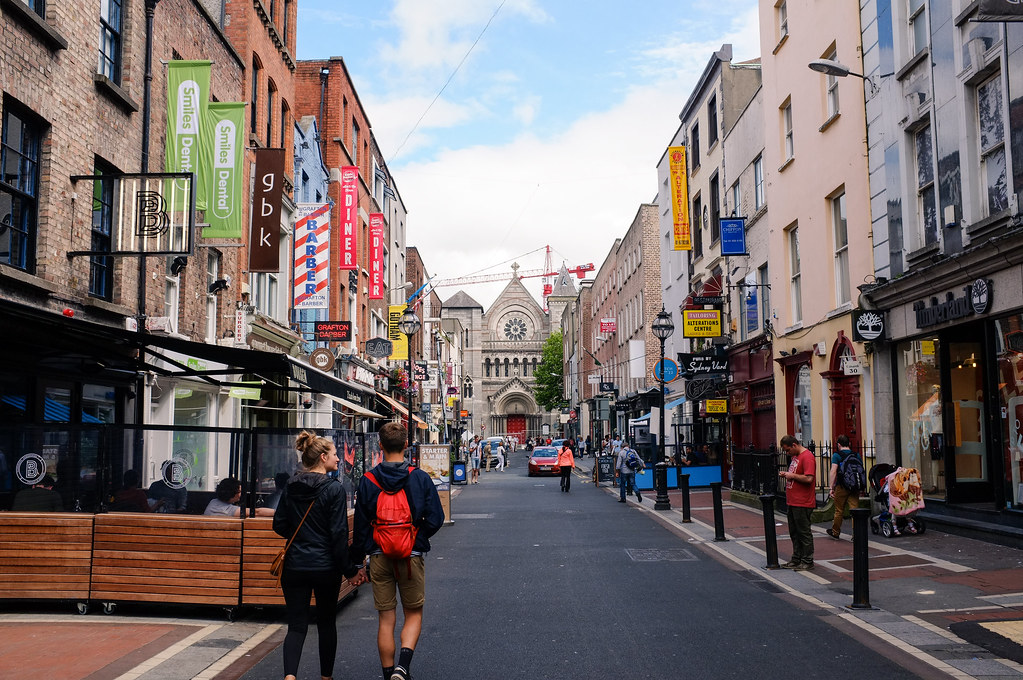
In Dublin, we stayed just south of the city centre, in a nice neighborhood called “Ballsbridge”. This allowed us to walk
into the city and, even more importantly, to walk back home at night from wherever we ended up. On our first day in
Dublin walking was all we did, and Dublin really lends itself to be explored on foot. It is a little confusing since the city
does not have a lot of visible landmarks and some of neighborhoods look pretty similar. Even the parks can leave you
disoriented since a few of them are rectangular, of similar size and appearance. At least that’s how I felt.
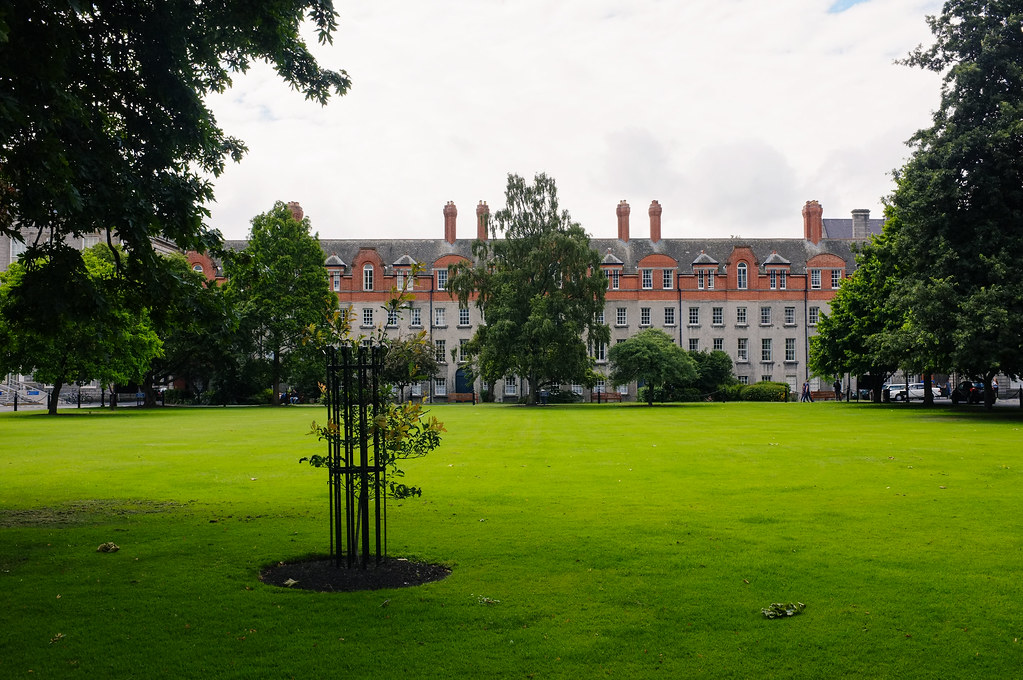
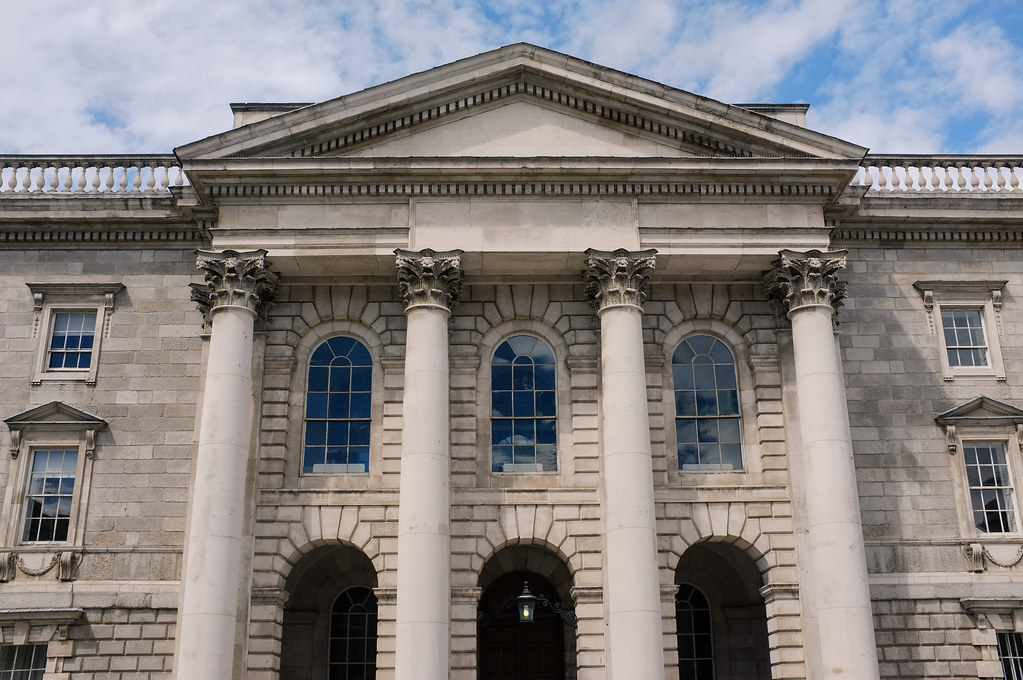
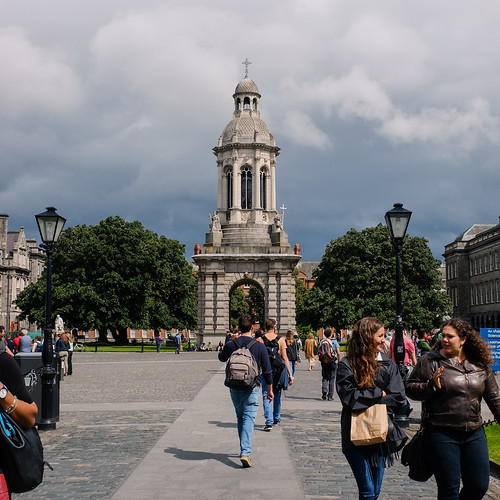
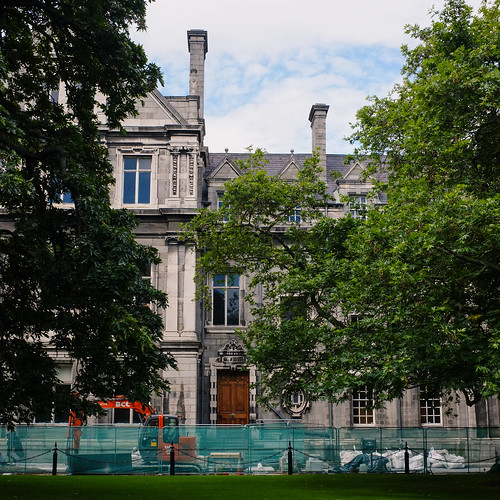
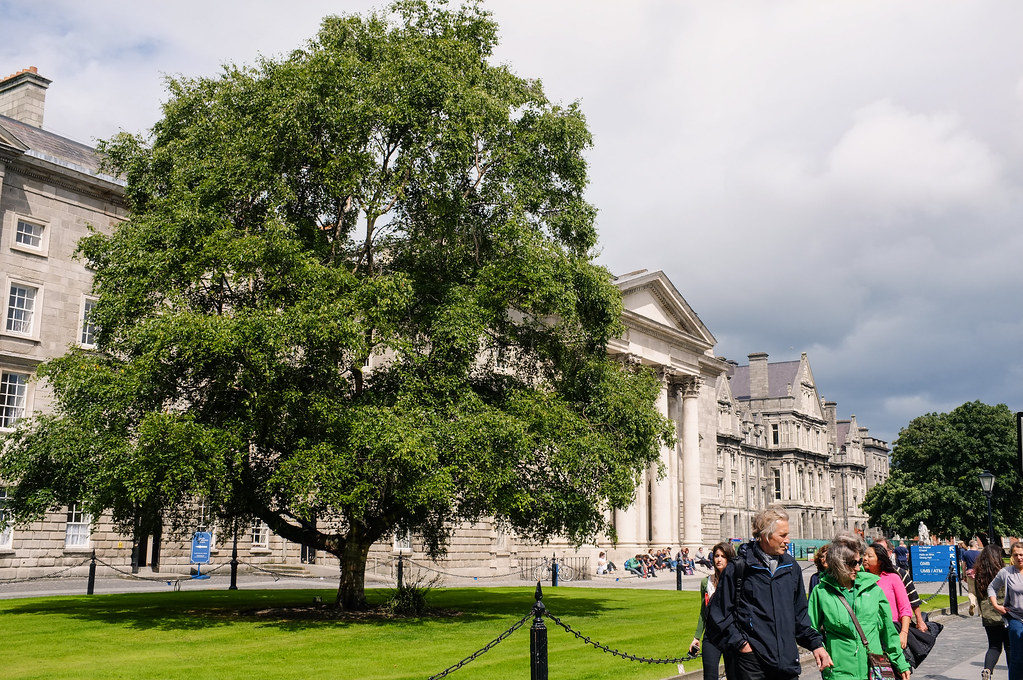
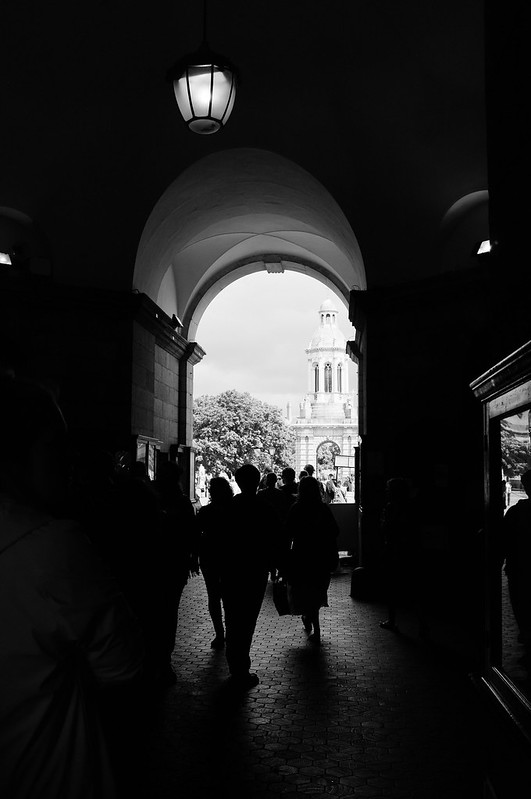
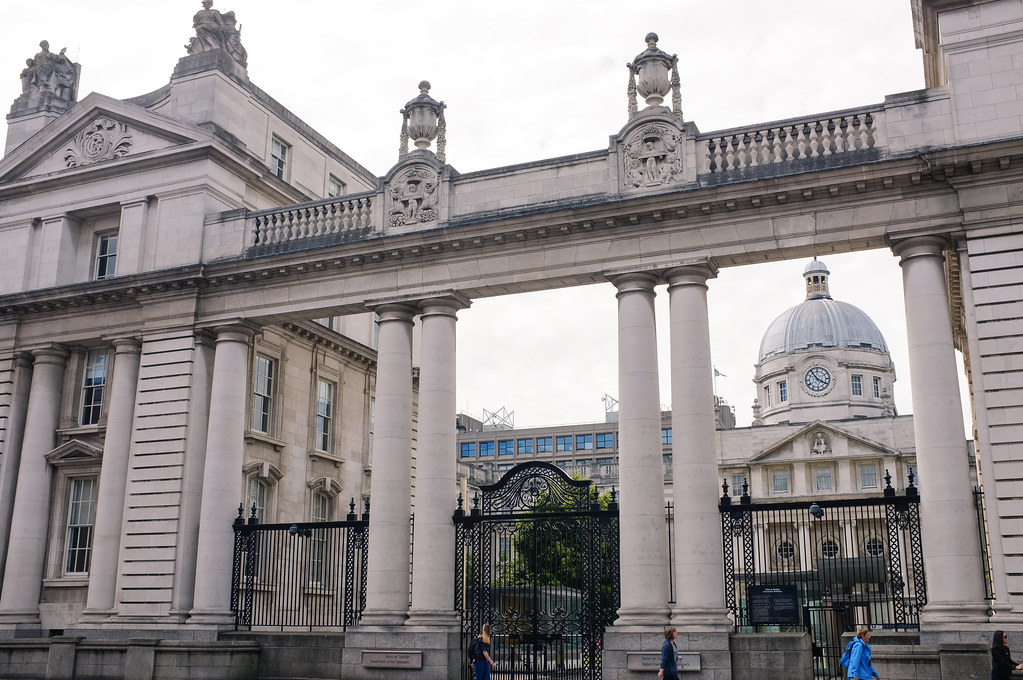
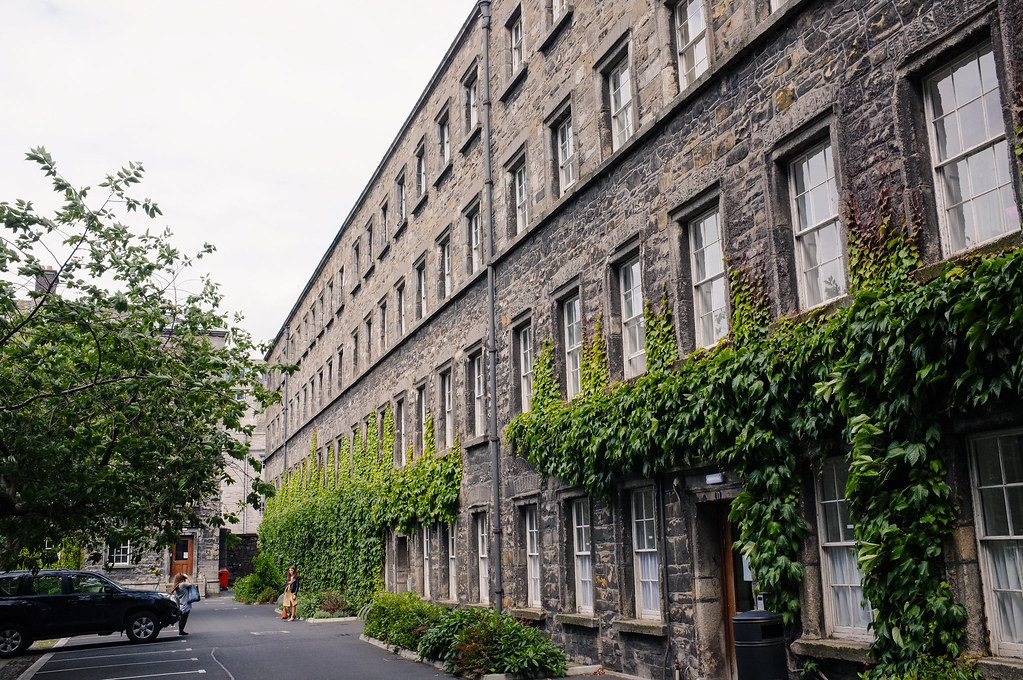
A definite highlight is Trinity College which sits in the middle of the city in a beautiful and quiet campus. As soon as
you step through its gates you leave behind the busy streets around its perimeter, which reminded me of the Harvard
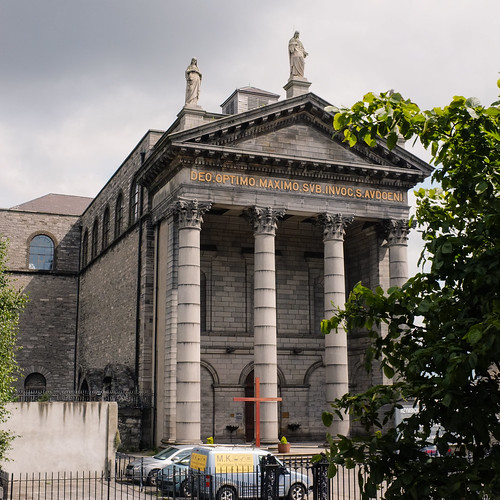
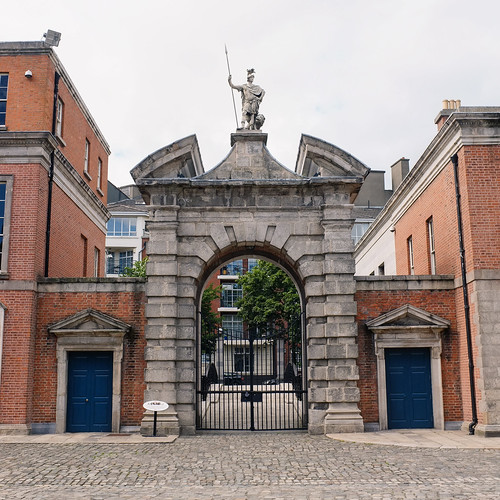
campus with its gates. Apart from that you can visit Dublin castle and some of the many churches and cathedrals. For
night-owls, Dublin is a perfect destination since it boasts a very dense networks of pubs and other restaurants and
bars. The pubs are way more friendly than what passes as a bar here in Germany in my opinion: Often you’ll have live
music and most people will eat there too, creating a different atmosphere than in a place just built for getting drunk.
On the evenings of the conference we’d usually pick a nice spot to eat with a few people, and then afterwards somebody
with some local knowledge would lead us into one of the many fancy cocktail bars that Dublin offers. In this regard I
was positively surprised: There’s a good amount of really nice restaurants and the night-life was neither too shrill nor
too tame. The neighborhood of Temple Bar really stands out in this regard, and is a must-see at night.
On our last day we had a few hours to kill before our flight. Unsurprisingly, we both were pretty beat from the past
three days of attending the conference, not keen on repeating our adventure on foot from day one. So we did as tourists
do and hopped on one of the many double-decker buses criss-crossing the city. This one took us through downtown Dublin
and out to some remote locations we wouldn’t have explored by foot: Guinness Brewery and Phoenix Park. I took me a while
to admit it, but I’ve come to appreciate these buses as way to quickly get a sense of a city, it’s neighborhoods and the
distances in general. Taking a bus is something that you should probably do on day one rather than at the end. Now I’m
back and glad not to have anything on my schedule for the next few months, but like with every trip I fondly look back
at the time spent on the road, exhausting as it might have been.